Hugo Blog Site with GitHub Action
Building a site with Hugo theme and deploying it on GitHub page


Table of contents
Backstory
Recently I came across hugo, a fast and simple static site generator which included some really cool themes that one can apply while building their site. The idea came from this blog which I came across, designed using the Hugo TeXify Theme.
I maintain my own blog site which is hosted on GitHub pages, and the process from writing a blog to deployment seemed like a hectic task as it included following steps -
Writing a blog in a blog repo
Building the site using Hugo theme
Copy and paste the build artifacts from blog repo to my GitHub page repo for deploying the changes
And after that I would push my blog to blog repo as well for backup.
This was a repetitive task which could be automated. This article is about the automation process, so lets get to it.
Implementation
I used the GitHub's CI/CD offering, GitHub Action to achieve this. Going further, we will talk about two repos -
We write our blogs in the blog repo, where we have an action defined in a workflow file
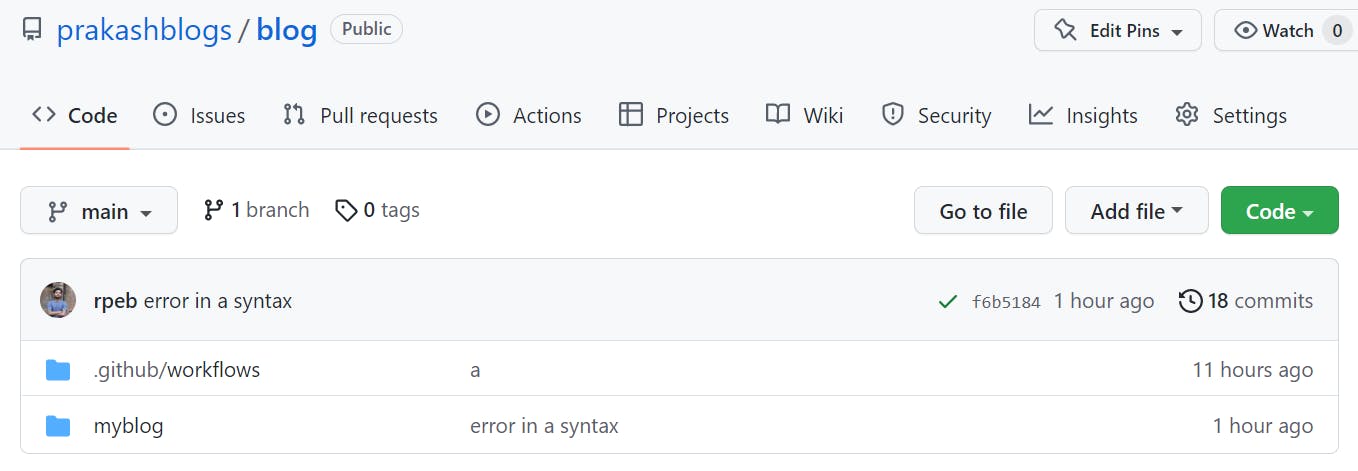
And our site resides in the deployment repo
The workflow builds the site and pushes it to the deployment repo.
Workflow
Lets understand the workflow steps -
Step 1 - Install Hugo
We install Hugo site generator tool on our action runner ubuntu machine
Step 2 - Checkout the blog repo
We checkout, or pull the contents of our blog repo in a folder named blog. We use a predefined GitHub action for this, called the checkout action.
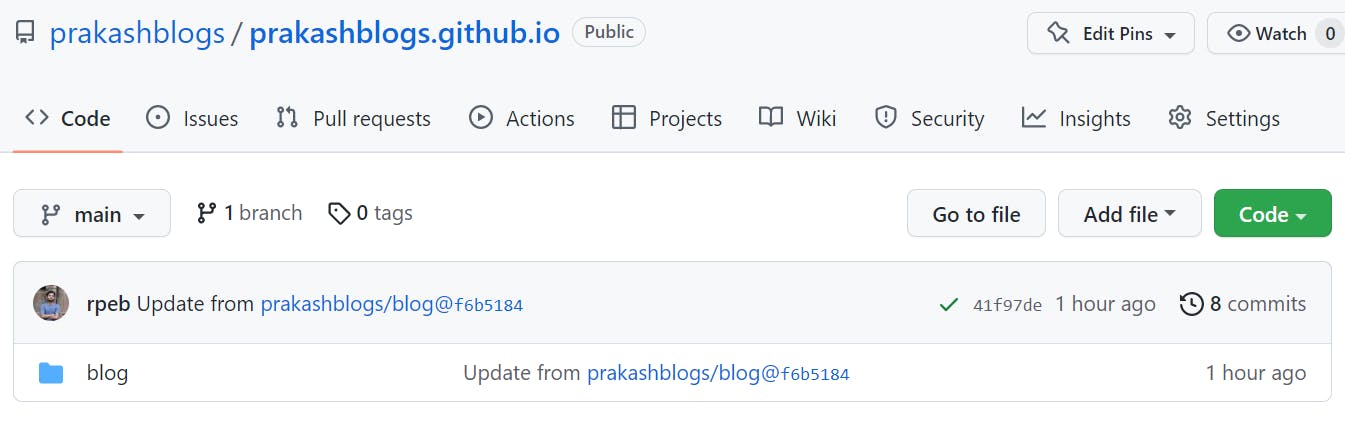
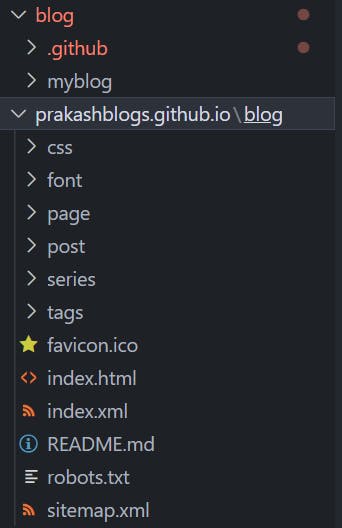
Step 3 - Checkout deployment repo
The deployment repo is named "prakashblogs.github.io" as per convention. We use the same checkout action we used in the last step to pull this repo. We pull this in a folder whose name matches the repo name. After we have pulled these two repos our folder structure in the runner host would look like this.
Step 4 - Generate Hugo site
We now generate the site with new content that we wrote. To do this we use the hugo command line tool that we installed in step1. We set the destination folder of the build to the blog folder in our deployment repo so that our newly built site is already in the desired location, from where we will deploy it.
Step 5 - Push the changes in deployment repo
For this we use another predefined action called github-action-push-to-another-repository. For this to work you will need to set a SSH_DEPLOY_KEY or API_TOKEN_GITHUB secret, as you need to authenticate before you push. This will be a breeze if you follow these steps. After the changes are pushed, an action will be triggered on the deployment repo which would deploy this new site to the GitHub pages.
In this process we have transferred the responsibility of building and deploying the site to GitHub and we only have to write our blogs and push them to the blogs repo. And this is what we wanted to achieve.
I hope you enjoyed this exciting journey and witnessed the magic of GitHub action. And I hope you will use it in your next project.
See you soon, happy hacking!